Gimp tutorial : Custom sepia tone effect
Sepia filters were re popularized some years ago with instagram filters before disappear once again. It helps create some nice "old style" picture effects or simply for artistic pictures. Gimp offers a quick menu to change your picture into sepia colors. But I don't really agree with this filter as it's more N&B + dark yellow rather than red/brown/bronze tones. Here is a small and simple tutorial to get custom effect.
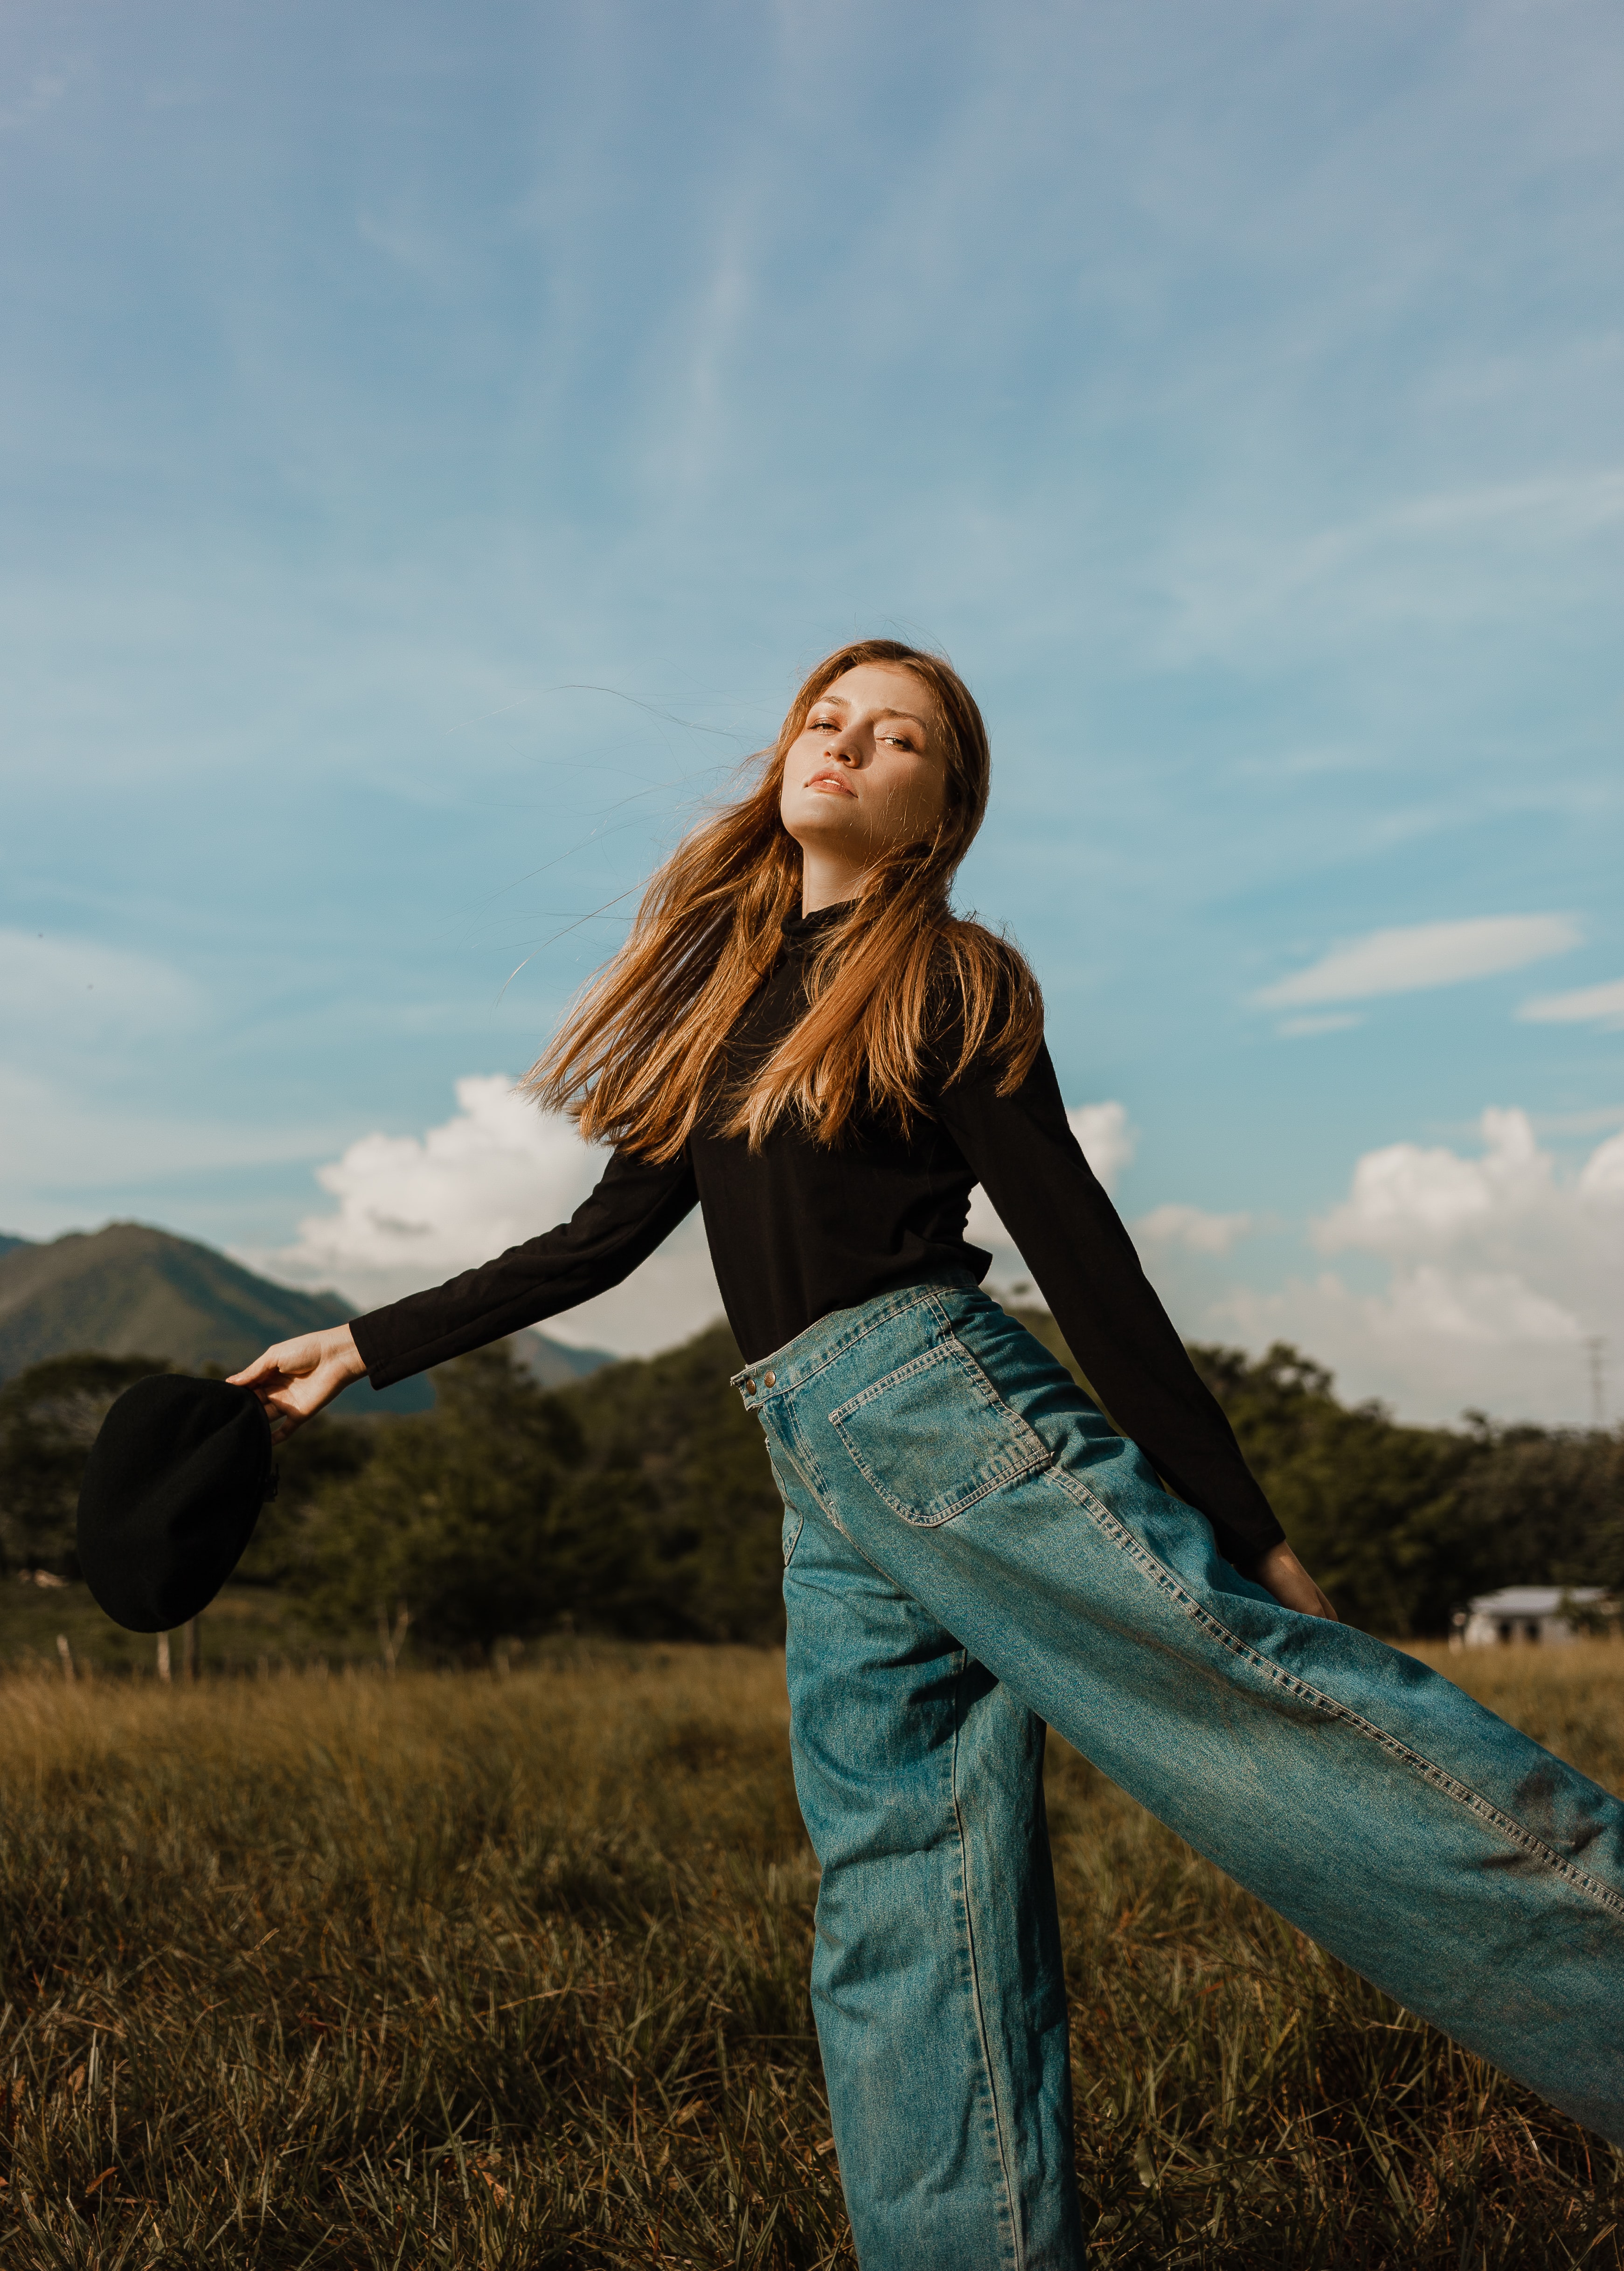
First, let's take a random picture from unsplash.com
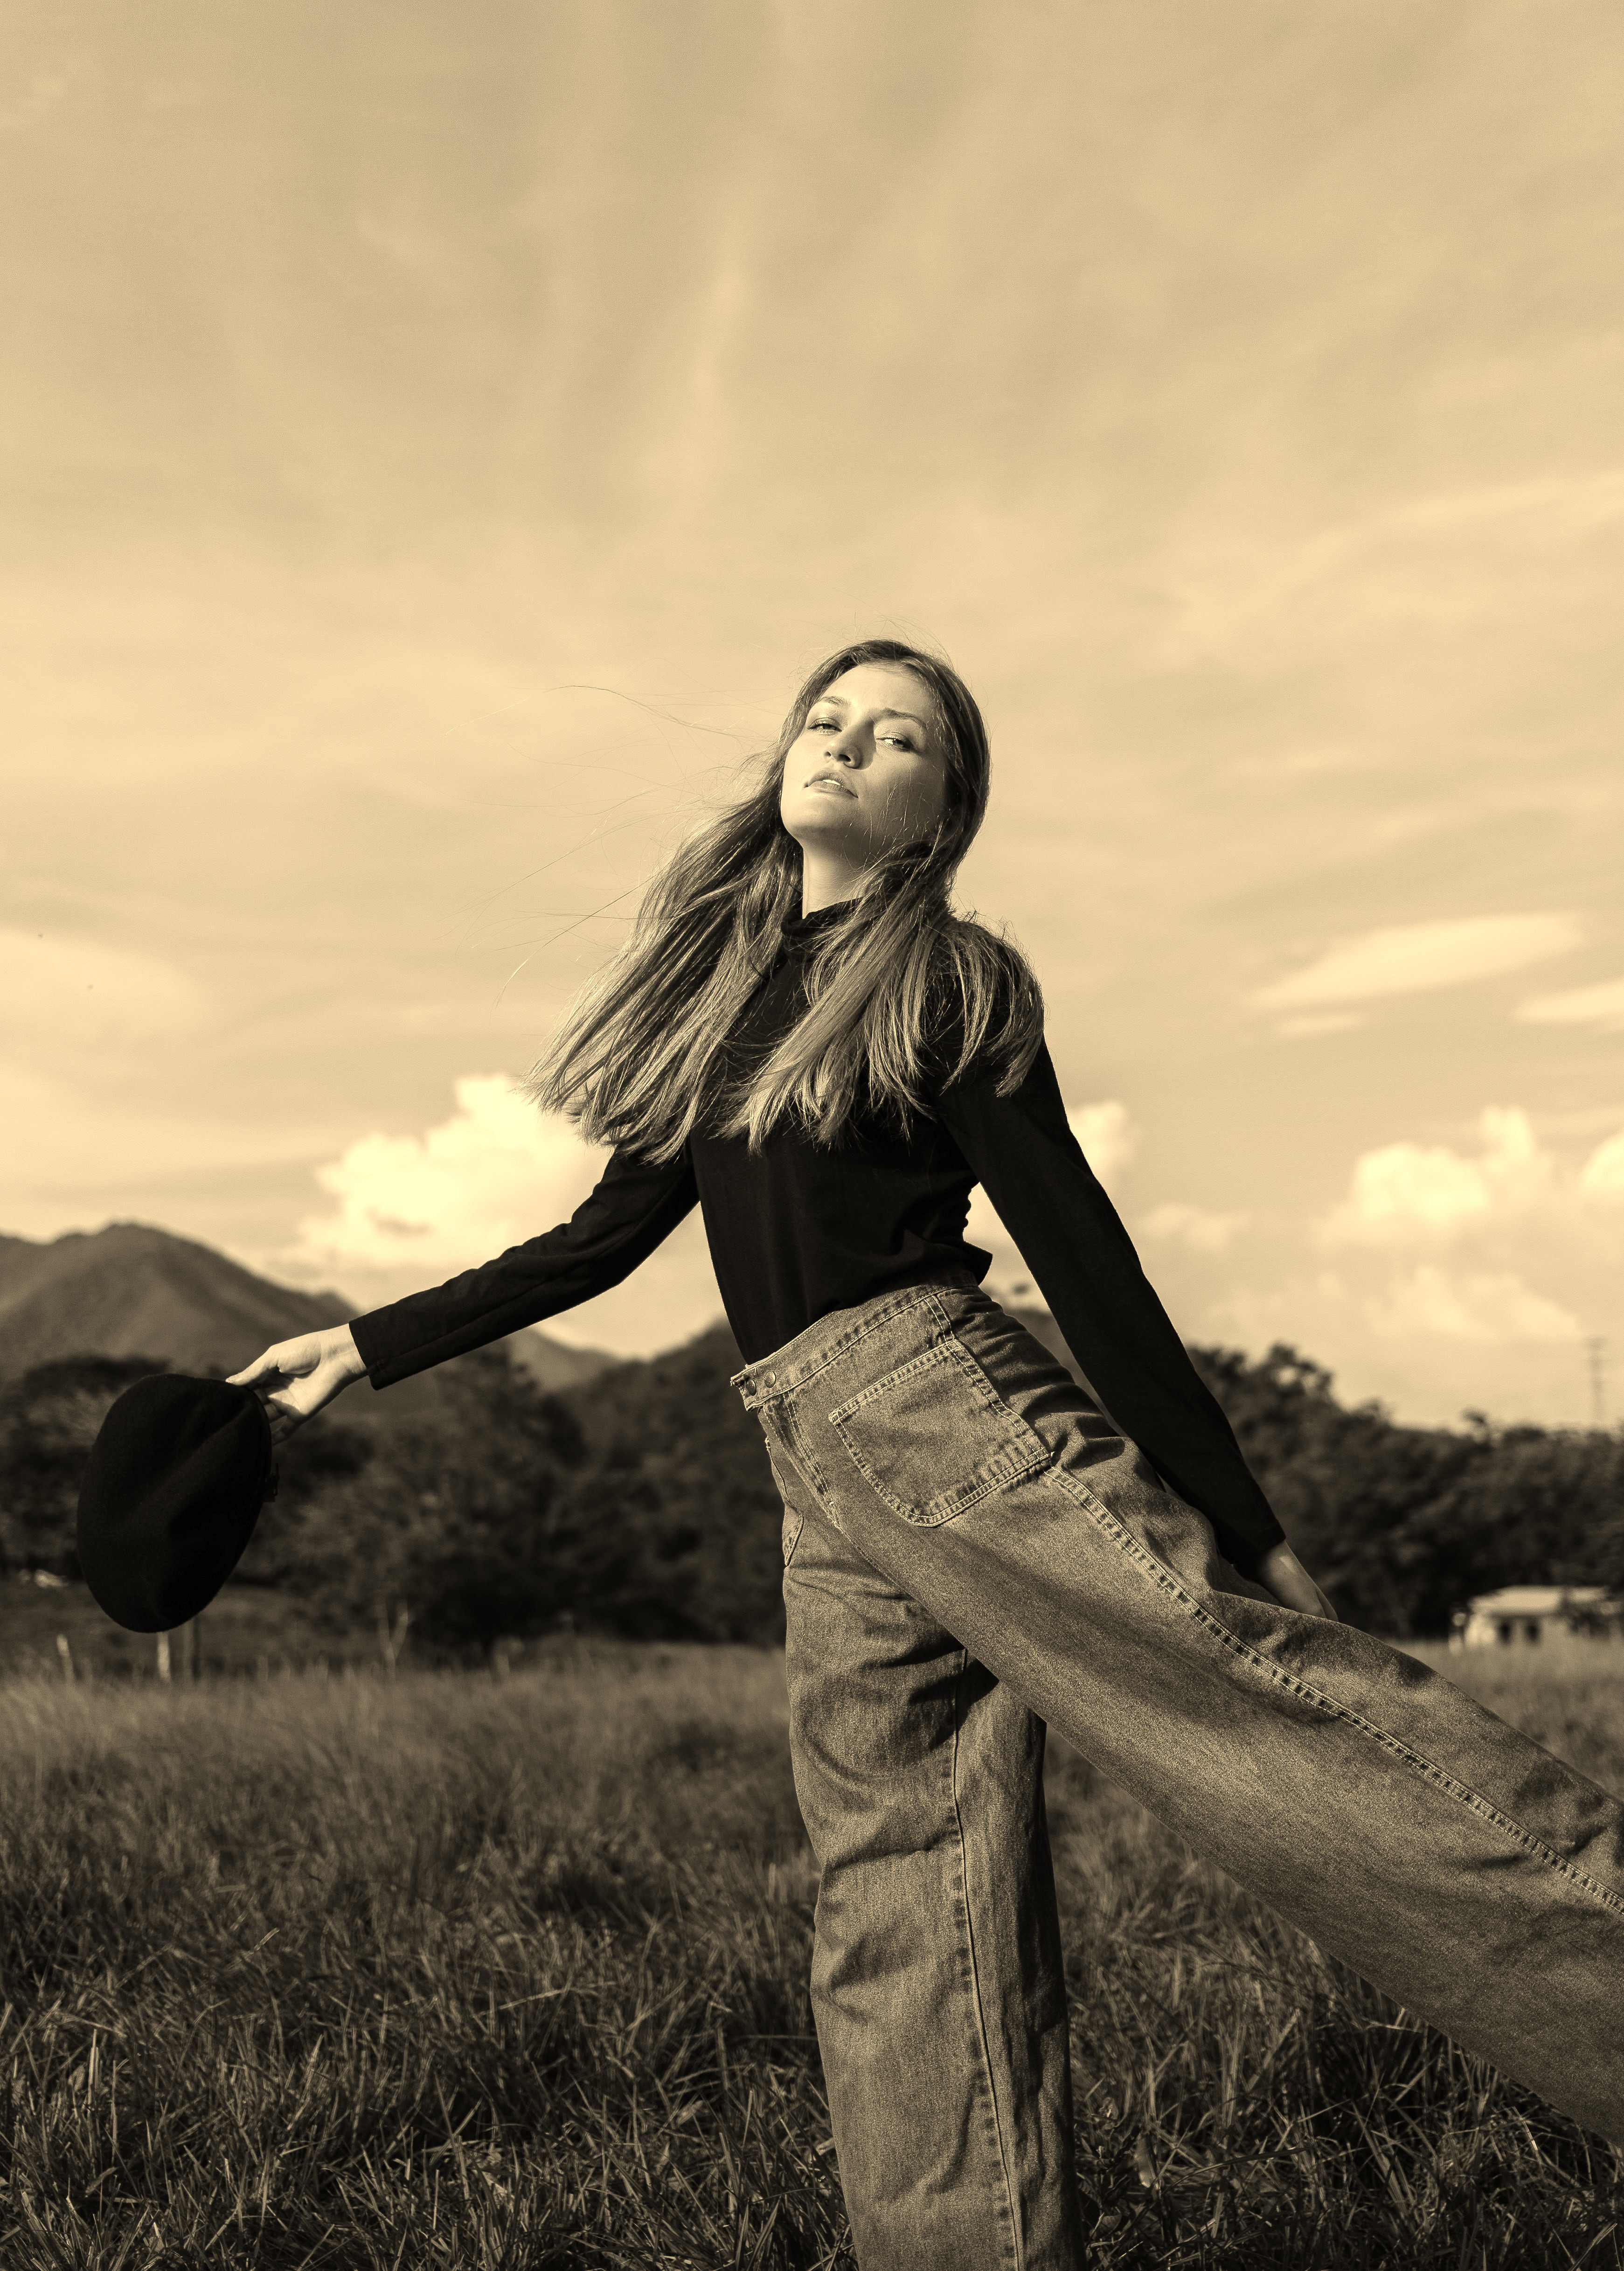
Then, we simply apply Gimp effect
Colors -> Desaturate -> Sepia
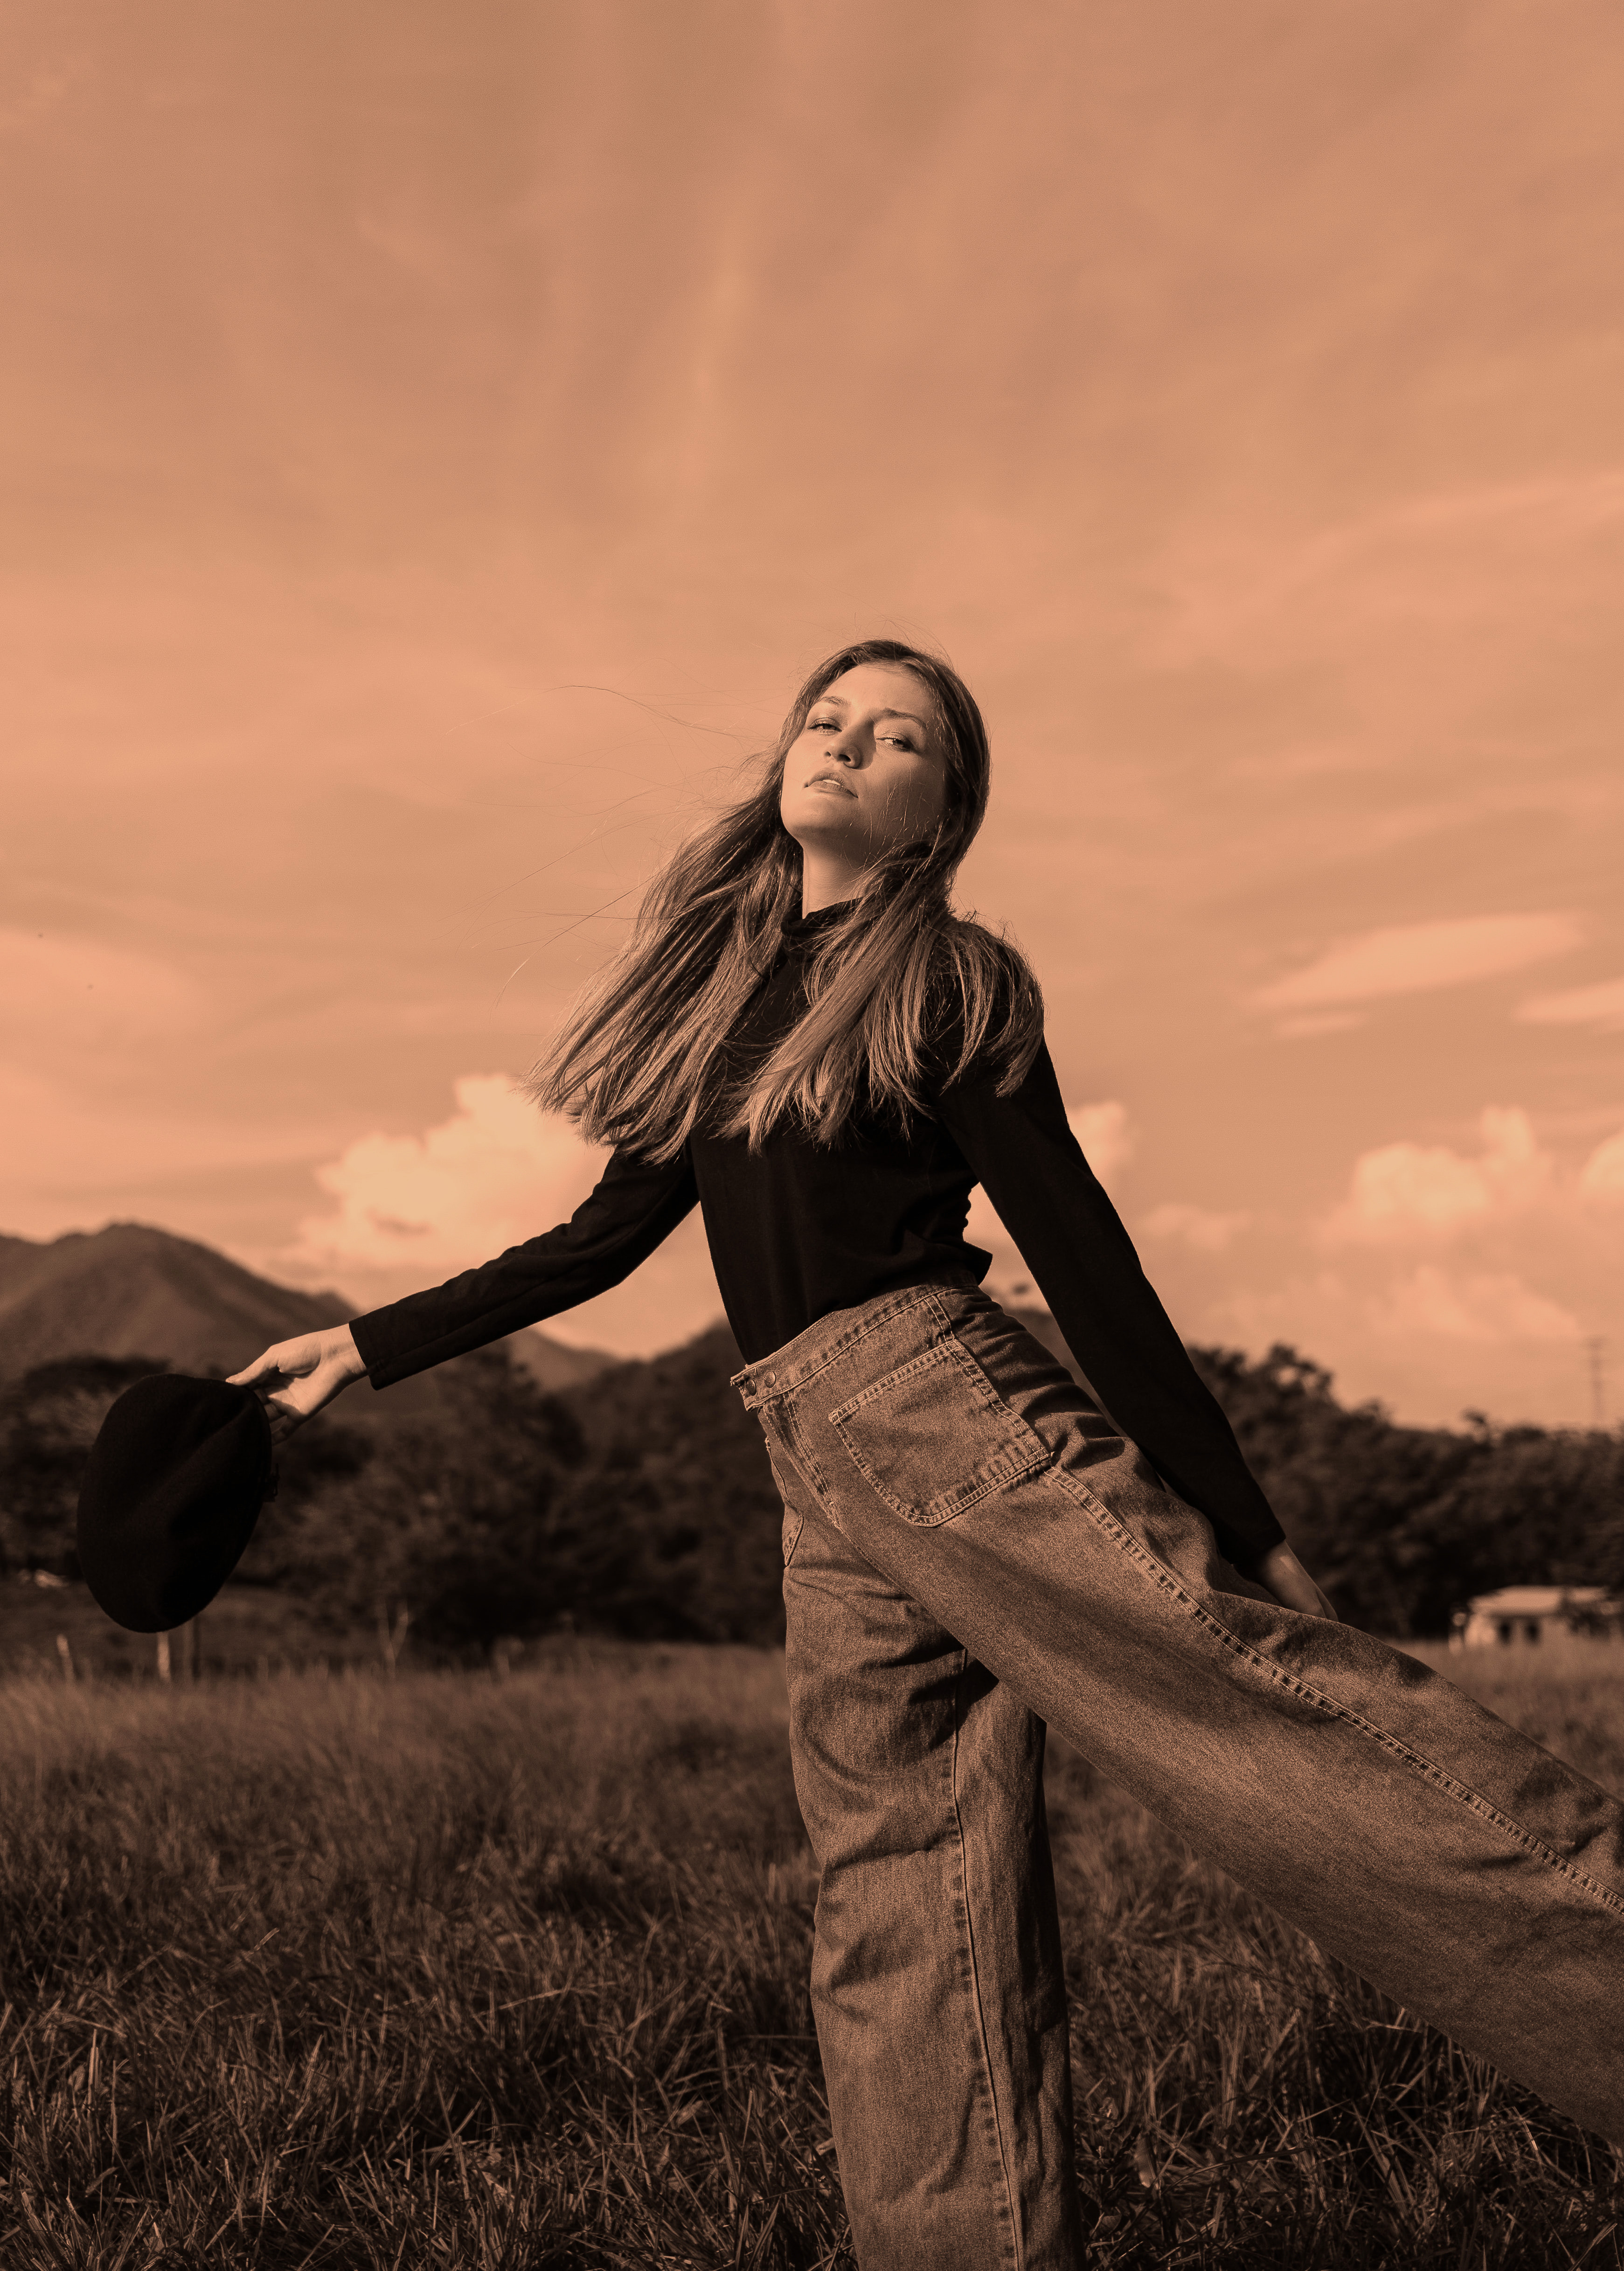
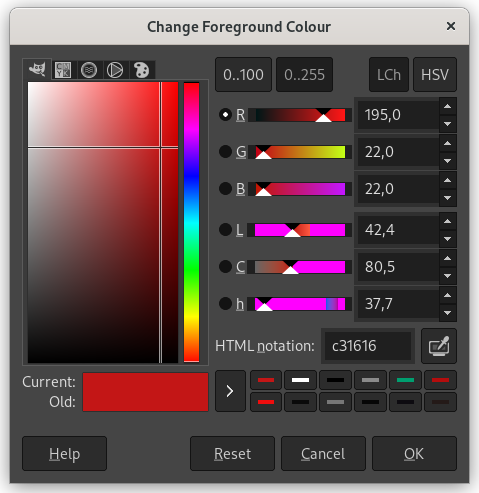
After that, we have to create a new transparent layer and select a red like color (195 / 22 / 22 for instance)
Fill created layer with this color and change mixing mode to "Hard light"
Select Mode -> Hard Light
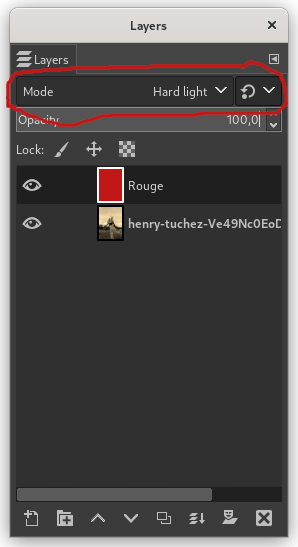
Finally, play with opacity (here 30%)
Source color is a key parameter for effect tuning. It allows lighter or darker result. Opacity has also to be adjusted for each picture depending on original luminosity.
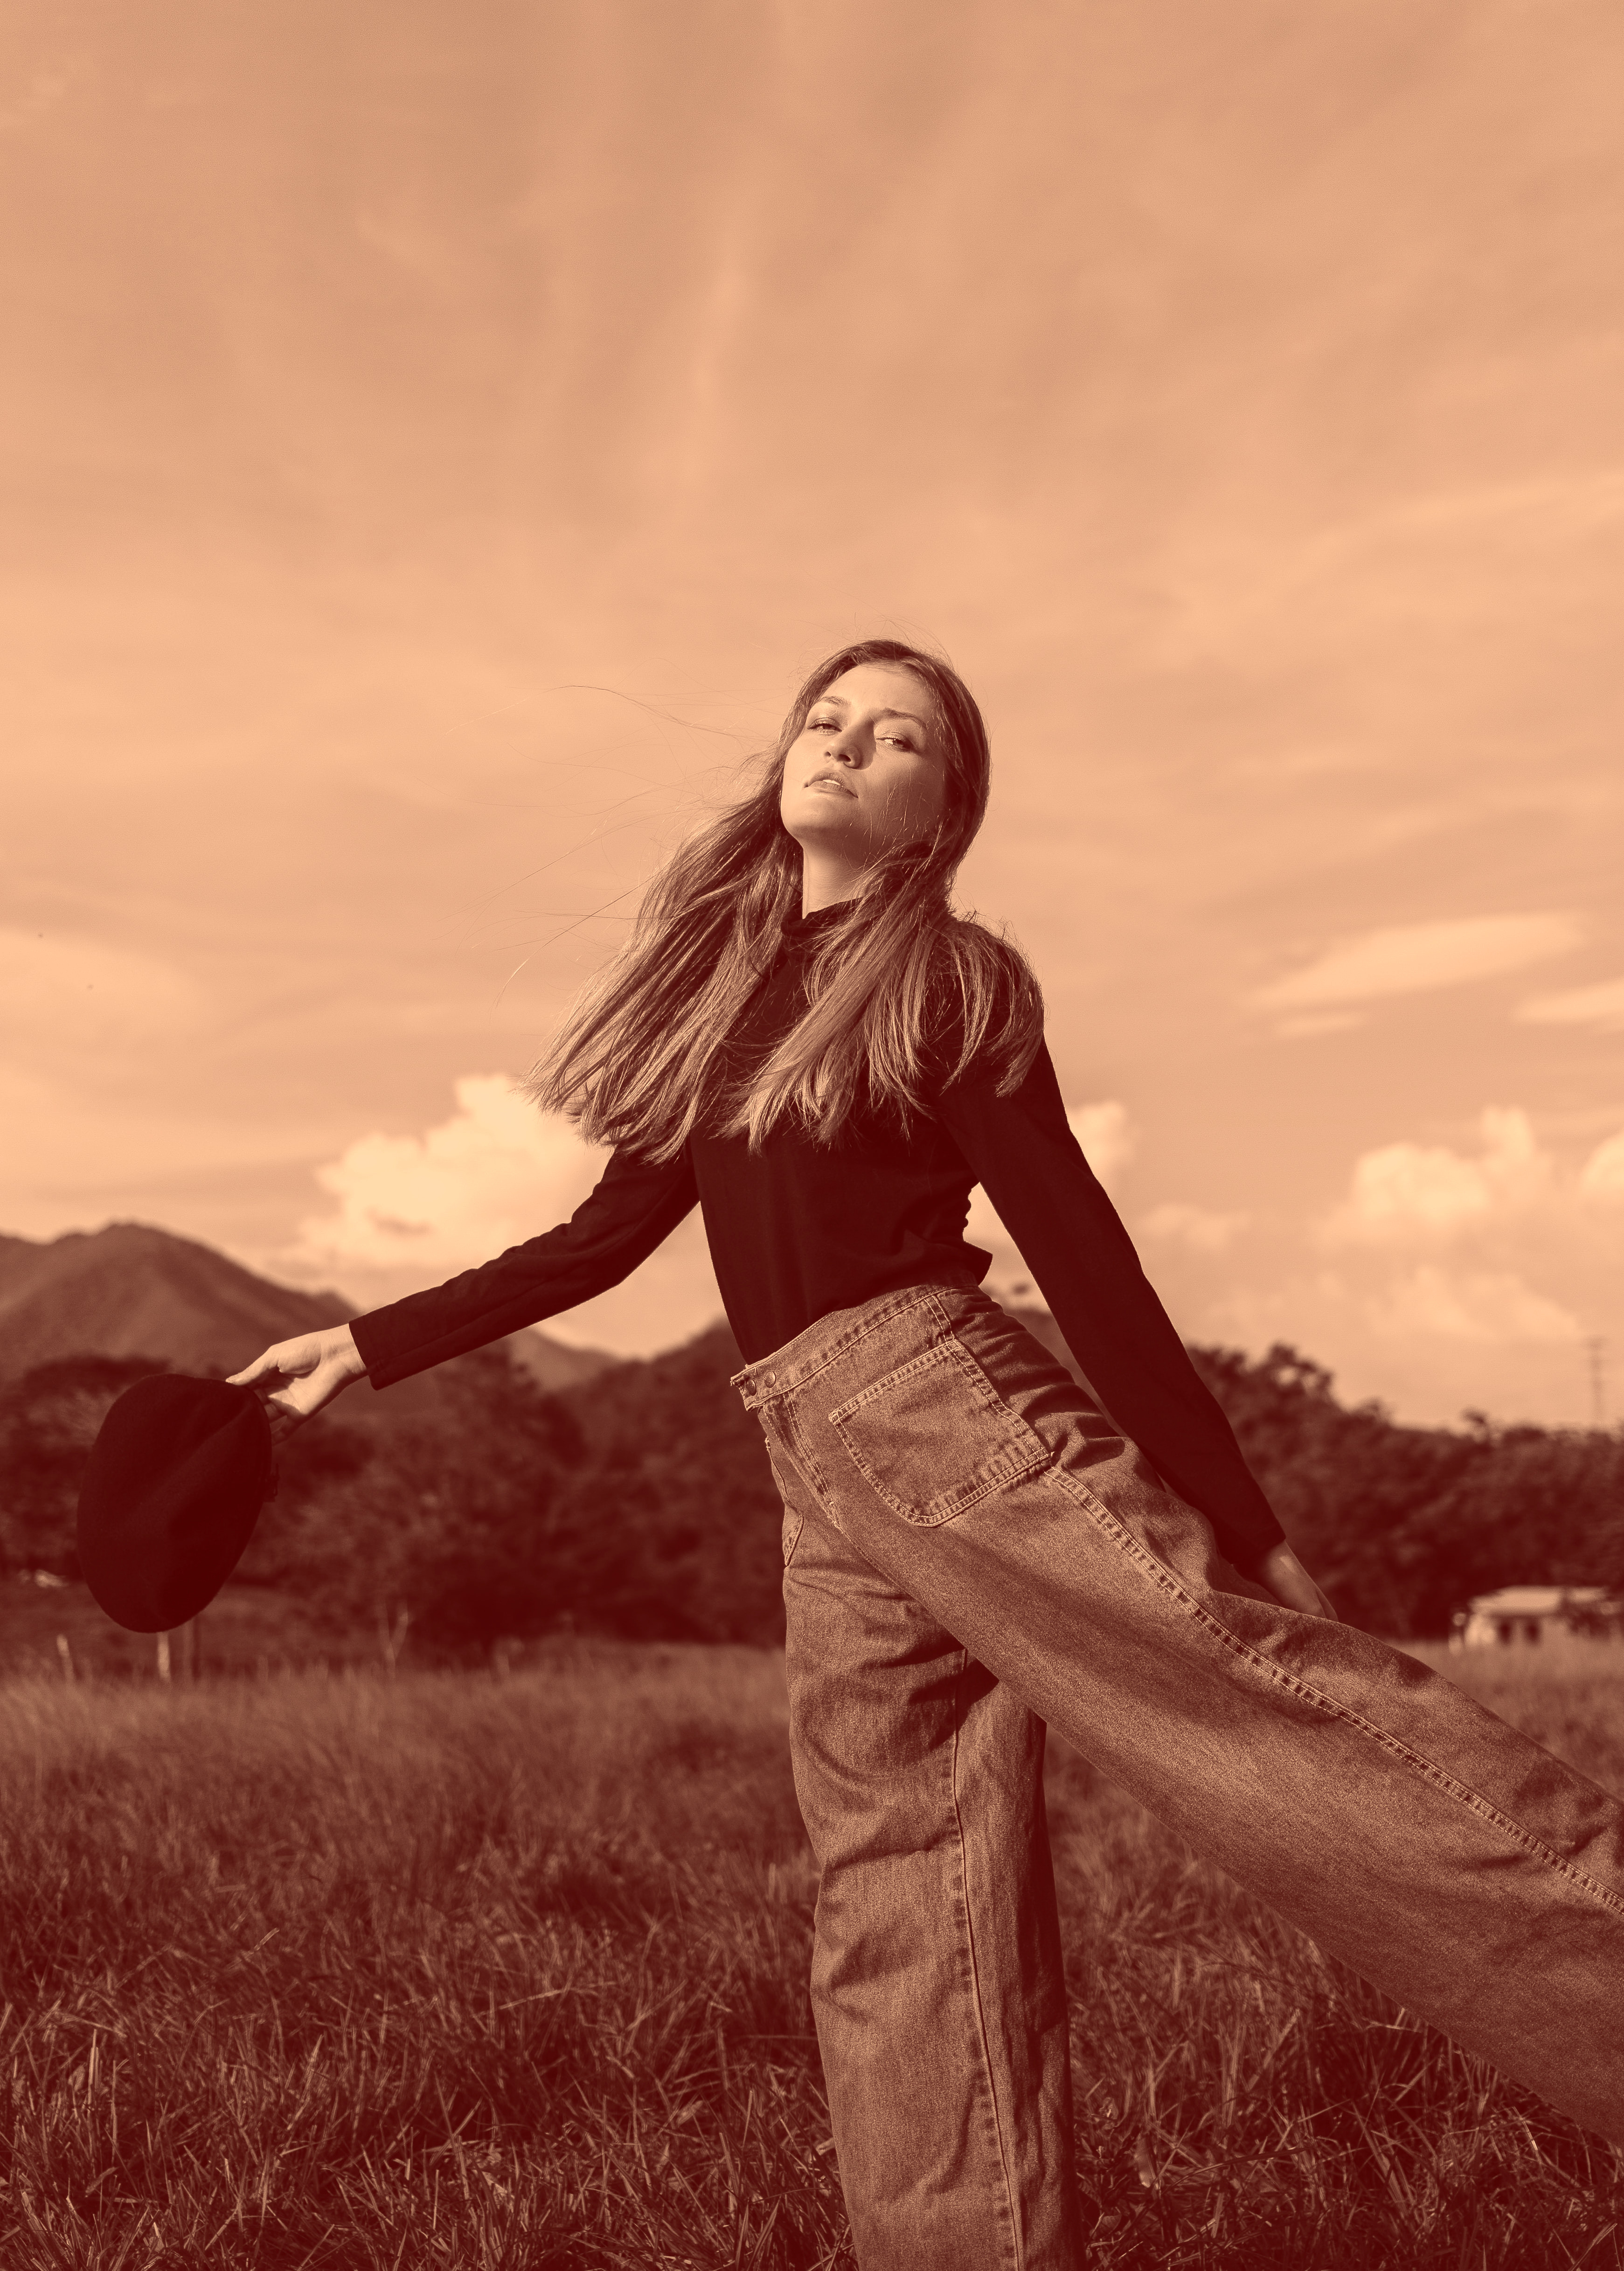
Another example with a darker color mask (108 / 19 / 19) and 50% opacity. We get something more brown and heavier :